Setting up Google Apps in Outlook with Google Apps Sync for Microsoft Outlook
1. From your internet browser, navigate to https://tools.google.com/dlpage/gappssync
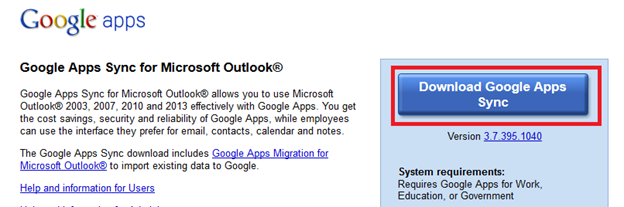
2. On the left side of this page, click on the button labeled Download Google Apps Sync. After clicking the button, you will be prompted to download the installation file.
3. Navigate to the installation file and run it. The file will begin to install at this point
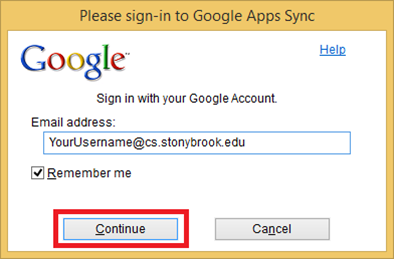
4. A window will open prompting you to enter in your email address. Enter your Computer Science email address (YourUsername [at] cs.stonybrook.edu) and make sure that the Remember Me box is checked. Click Continue.
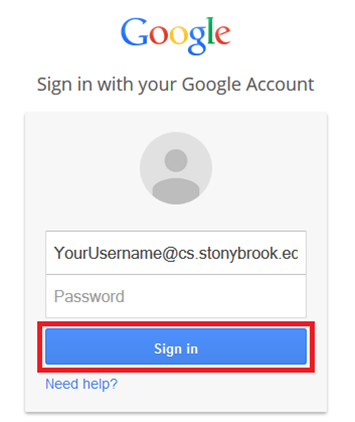
5. Your internet browser will be launched and you'll be asked to sign into your Google Apps account. Enter your full Computer Science email address (YourUsername [at] cs.stonybrook.edu) and your password then click Sign in.
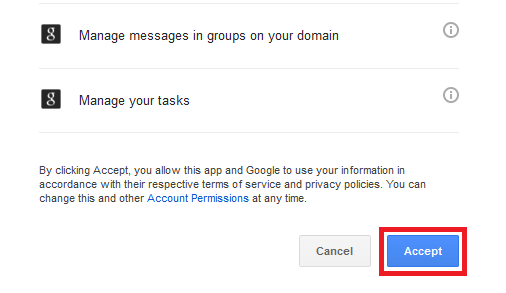
6. After signing in, you will be brought to a new page in your browser that requests your permission to allow access for Google Apps Sync for Microsoft Outlook. Scroll to the bottom of the page and click Accept.
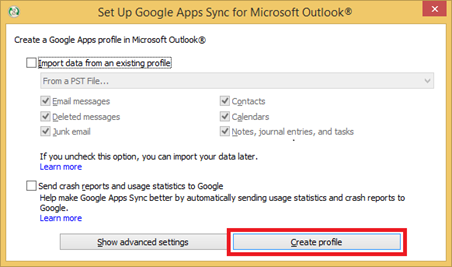
7. Your browser will now redirect to a page informing you that authorization has been successfully granted. At this point, return to the Google Apps Sync utility and click Create Profile.
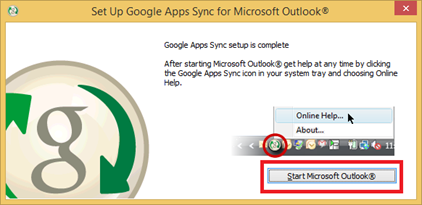
8. In the next window, click on the Start Microsoft Outlook button.
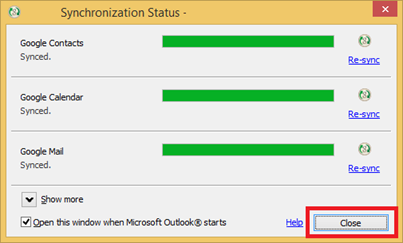
9. Microsoft Outlook will now open and it will show you the progress of the synchronization. If you would like to see the synchronization progress each time you open Outlook, leave the checkbox for Open this window when Microsoft Outlook starts checked, if you don’t want the synchronization progress shown each time you open Outlook, uncheck the box.
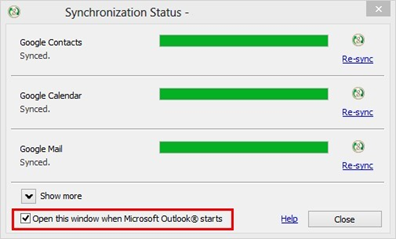
10. You can click Close at any point and begin using Outlook regardless of whether or not the syncing process has been completed (syncing will continue while using the program).