How to Create and Manage Snapshots using vSphere client?
VMware ESX server allows to take snapshots of virtual machines. Simply, a snapshot of virtual machine is a saving of its current state which provides a way how to return from a future state to any of the saved states repeatedly. You can create more than one snapshot of the same virtual machine. You can take a snapshot while a virtual machine is powered on, powered off.
Take a Snapshot
- Right-click the virtual machine and select Snapshot > Take Snapshot.
- In the Take Virtual Machine Snapshot dialog box, enter a name for the snapshot.
(Optional) Enter a description for your snapshot.
Descriptions identify differences between similarly named snapshots. Descriptions appear in the Snapshot Manager.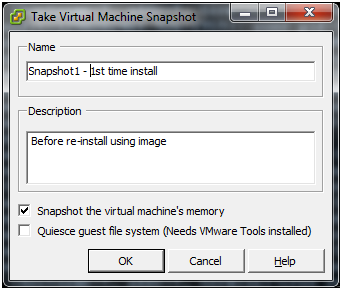
- (Optional) Select the Snapshot the virtual machine’s memory checkbox to capture the memory of the virtual machine.
- (Optional) Select the Quiesce guest file system (Needs VMware Tools installed) check box to pause running processes on the guest operating system so that file system contents are in a known consistent state when the snapshot is taken. This applies only to virtual machines that are powered on.
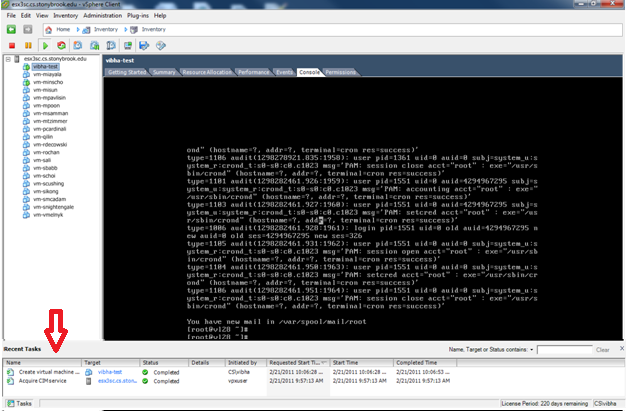
- Click OK. You will notice the progress of the snapshot at the bottom of the screen. When the snapshot is successfully taken, it is listed in the Recent Tasks panel at the bottom of the vSphere Client window.
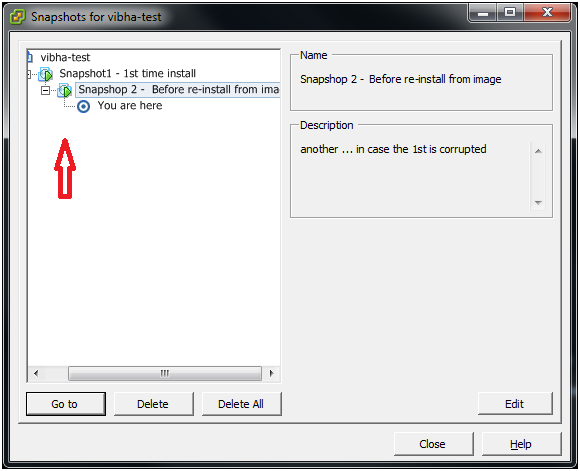
Managing Snapshots
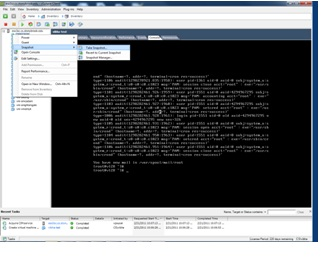
- On the ESX servers, "Snapshot Manager" displays all snapshots and their hierarchy. To open the Snapshot Manager, right-click on your virtual machine and and select Snapshot > Snapshot Manager. The hierarchy that you see below is very important. The below image shows that 2 snapshots were taken. This also indicates that you have not restored to any of the snaphots. You go to a snapshot to restore the virtual machine to the state of that snapshot.
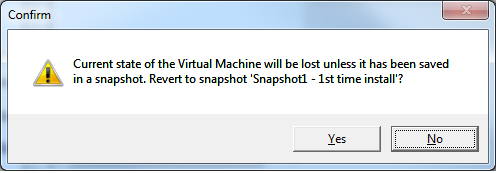
- Click Go to to restore the virtual machine to the snapshot.
The Go to command lets you restore the state of any snapshot.
- Yes in the confirmation dialog box.
- The screen below shows that you restored to Snapshot 1